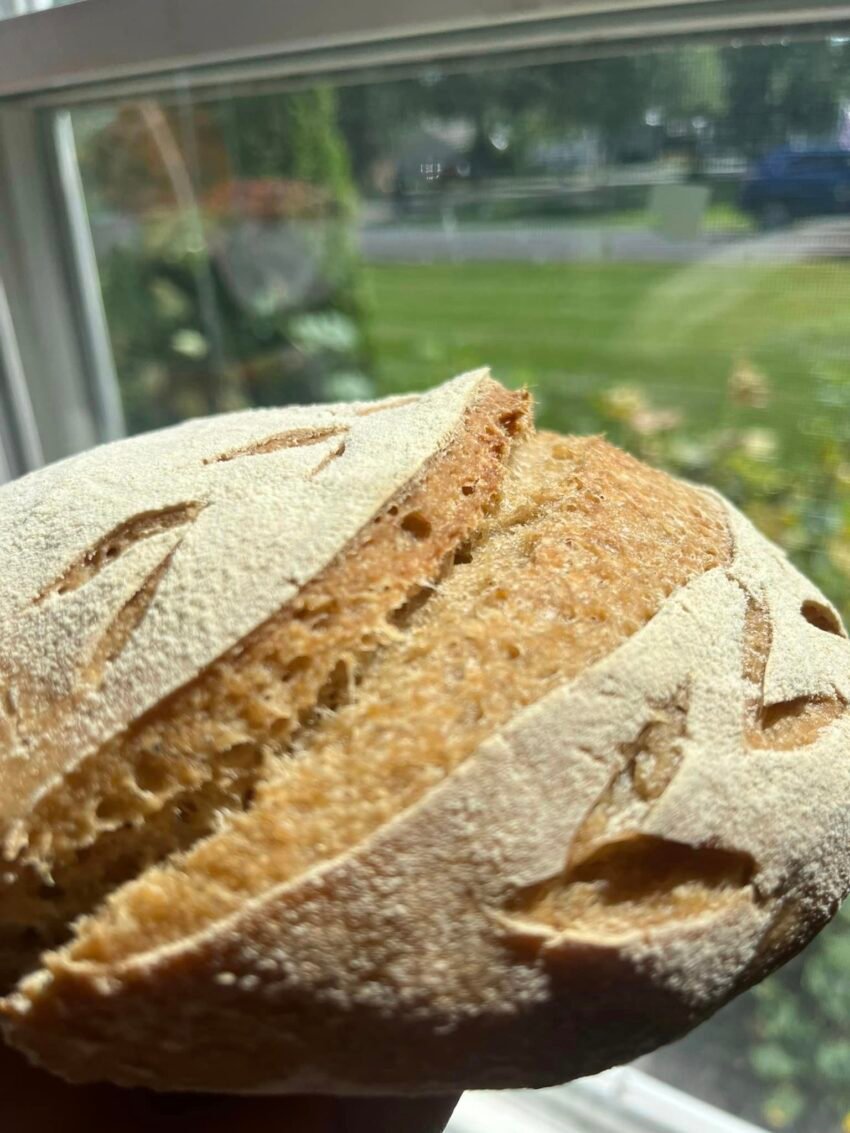
Baking gluten-free sourdough artisan bread can be a delightful challenge that results in a delicious, crusty loaf with a tender crumb. Unlike traditional sourdough, which relies on gluten to create its characteristic texture and rise, gluten-free sourdough requires a combination of different flours and starches to achieve a similar result.
Ingredients
For the Starter:
- 1 cup brown rice flour
- 1 cup water
- 1 tablespoon honey or maple syrup (optional, to help ferment)
For the Bread:
- 1 cup gluten-free sourdough starter (fully matured and active)
- 1 cup brown rice flour
- 1 cup tapioca starch
- 1/2 cup sorghum flour
- 1/2 cup potato starch
- 1 teaspoon xanthan gum or psyllium husk powder
- 1 1/2 teaspoons salt
- 1 1/4 cups water (room temperature)
- 2 tablespoons olive oil
- 1 tablespoon apple cider vinegar
Instructions
1. Prepare the Gluten-Free Sourdough Starter:
To begin, you’ll need to create a gluten-free sourdough starter, which takes about 5-7 days to fully mature. Combine the brown rice flour and water in a glass jar or bowl. Mix well until there are no lumps, and cover the jar with a cheesecloth or a lid with holes to allow air circulation. Leave it at room temperature.
Each day, discard half of the starter and feed it with an additional 1/2 cup of brown rice flour and 1/2 cup of water. Stir well, and cover again. Repeat this process daily until the starter becomes bubbly and has a pleasant sour smell. This indicates that the natural yeasts and bacteria have developed sufficiently to leaven bread.
2. Mix the Dough:
In a large mixing bowl, combine the brown rice flour, tapioca starch, sorghum flour, potato starch, xanthan gum (or psyllium husk powder), and salt. Mix these dry ingredients thoroughly to ensure they are well distributed.
In a separate bowl, mix the gluten-free sourdough starter, water, olive oil, and apple cider vinegar. Add the wet ingredients to the dry mixture and stir until a thick, sticky dough forms. The dough will not resemble traditional bread dough; instead, it will be more like a thick batter.
3. First Rise:
Cover the bowl with a clean kitchen towel or plastic wrap, and let the dough rise at room temperature for 4-6 hours, or until it has visibly expanded and appears bubbly on the surface. Because gluten-free dough does not rise as much as gluten-containing doughs, do not expect a dramatic increase in volume.
4. Shaping and Second Rise:
After the first rise, lightly flour a piece of parchment paper with gluten-free flour. Gently transfer the dough onto the parchment paper and shape it into a round loaf using a spatula or your hands (wet your hands slightly to prevent sticking). Cover it loosely with a kitchen towel and let it rest for another 1-2 hours. This second rise allows the dough to develop more flavor and structure.
5. Preheat the Oven and Baking:
Preheat your oven to 450°F (230°C). If you have a Dutch oven, place it in the oven while it preheats. This ensures that the Dutch oven is hot when the dough is placed inside, which helps create a crusty exterior.
Once the oven is ready, carefully remove the Dutch oven, place the parchment paper with the dough into it, and cover it with the lid. Bake the bread for 30 minutes. Then, remove the lid and bake for an additional 20-30 minutes, or until the loaf is golden brown and sounds hollow when tapped on the bottom.
6. Cool and Enjoy:
Remove the bread from the Dutch oven and let it cool on a wire rack for at least an hour before slicing. This cooling period is crucial as it allows the bread’s structure to set, ensuring a better texture and flavor.
Tips for Success
- Patience is Key: Gluten-free sourdough requires time and patience. Allow the starter to fully mature before using it, and do not rush the rising times.
- Humidity and Temperature: The fermentation and rise time can vary depending on the temperature and humidity of your environment. Warmer environments will speed up fermentation, while cooler ones will slow it down.
- Adjusting Consistency: Gluten-free doughs are typically stickier and wetter than traditional doughs. Resist the urge to add too much flour; a wetter dough often yields a better crumb in gluten-free baking.
- Flavor Variations: You can experiment with different gluten-free flours, like millet, buckwheat, or teff, to vary the flavor and texture of your bread.
With these steps, you’ll be on your way to making delicious, gluten-free sourdough artisan bread. Enjoy the process and the wonderful aroma of fresh-baked bread filling your home!
