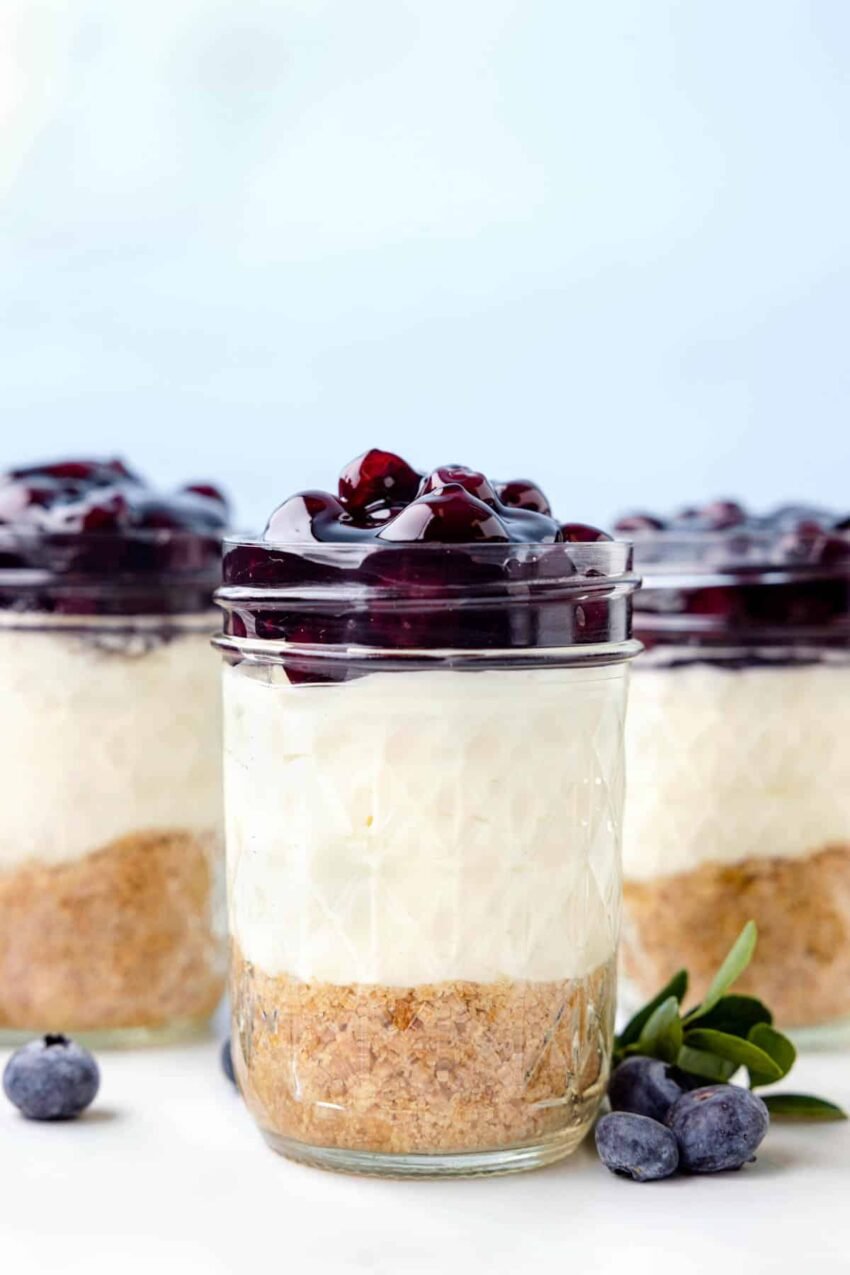
There’s something undeniably charming about serving desserts in individual jars. These cheesecake jars not only look adorable but also offer a delightful balance of creamy cheesecake filling, buttery graham cracker crust, and a variety of customizable toppings. s
Ingredients:
For the crust:
- 1 cup graham cracker crumbs
- 1/4 cup melted butter
- 2 tablespoons sugar
For the filling:
- 16 oz cream cheese, softened
- 1 cup powdered sugar
- 1 teaspoon vanilla extract
- 1 cup heavy cream
For the topping:
- Fruit compote, fresh berries, chocolate ganache, or caramel sauce
Instructions:
- Prepare the Crust:
- In a medium bowl, mix the graham cracker crumbs, melted butter, and sugar until well combined.
- Press a layer of the mixture into the bottom of each jar to form the crust.
- Make the Filling:
- In a large bowl, beat the cream cheese until smooth.
- Add the powdered sugar and vanilla extract, and continue beating until well combined.
- In a separate bowl, whip the heavy cream until stiff peaks form.
- Gently fold the whipped cream into the cream cheese mixture until fully incorporated.
- Assemble the Jars:
- Spoon or pipe the cheesecake filling over the crust in each jar.
- Smooth the top with a spatula.
- Add Toppings:
- Add your desired topping over the cheesecake filling.
- Chill:
- Cover the jars with lids or plastic wrap and refrigerate for at least 2 hours, or until set.
- Serve:
- Enjoy directly from the jars! They can be stored in the refrigerator for up to 5 days.
Tips:
- Jar Size: Small mason jars or any small, sealable glass jars work great.
- Crust Variations: Try using different cookies or biscuits for the crust, like Oreos or digestive biscuits.
- Flavor Variations: Add different extracts or zests (lemon, orange) to the filling for a variety of flavors.
- Layering: Create layers of cheesecake filling and toppings for a more visually appealing dessert.
Would you like a specific recipe or variations to try?
